Hello everyone! Hope all of you are having a good week so far.
If you had read my previous post, you would have seen
this house that I constructed as a vehicle to store my disposables. On
this post, I'm going to run through a little bit more of how I did this
out of an empty box and some cardboards. Here's the photos of the front
and back view of the house again.
I'm going to show you a few photos of how it holds my disposable plates, cups, serviettes, cutlery and even stirrers.
 |
| Front of house/plates |
 |
| Patio at front of house/cutlery |
 |
| Back of house/serviettes and cups |
 | |
| For stirrers or small dessert spoons/forks |
And since plates and cups and even
serviettes can come in different sizes, you would need to decide which
is the size you would probably be using most of the time and make sure
your house, patio and tree is long/wide enough to hold them.
It all started when I bought the "On the Fence" die from
Tim Holtz and was looking for ways to use it. And then I had this box
that stored a toy from my son of which I was about to chuck away when I
saw the potential of using the fence to line it around the box and the
box to hold my house. And an idea was formed.
I wrapped the box around with cardstock.
Then cut strips of the fence to ensure it can go round the box.
I
measured the width of the house using cardboards. That became my wall.
I used my Tim Holtz "bricks" embossing folder to emboss the imprints of
bricks all over a grey cardstock and then cut to measure that around
the wall of the house and adhere to the cardboard.
Then I cut the shape of the roof using cardboard and wrapped with cardstock too.
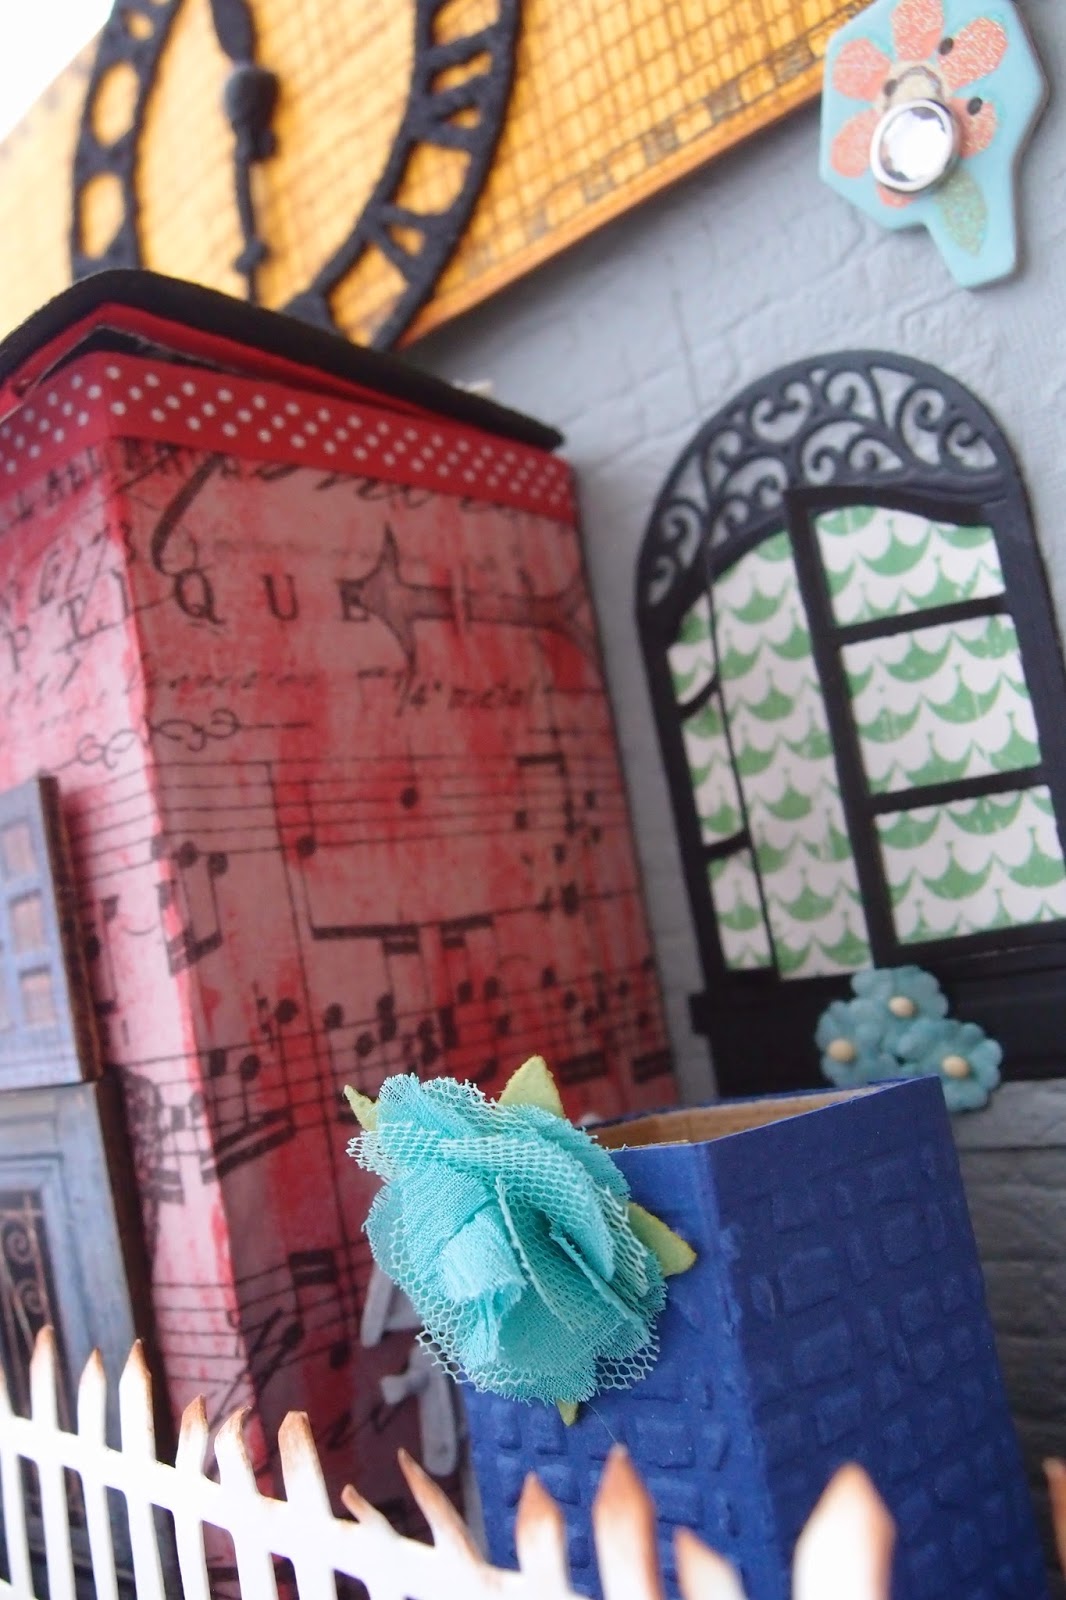
The red
patio box was used to store my son's satchels of fruit puree. I emptied
the contents and also wrapped it with red cardstock paper. I used a
glittered foam and cut the edge with Tim Holtz's On the Edge Ornate die
Embellished in whatever way you like.
I
used Tim Holtz's tissue wrap Melange to wrap around the red box. You
can used Ranger's Glue and Seal to adhere the tissue wrap. Punched a
hole and hanged some charms.
Time
to dress up the house! I placed a Tim Holtz's Weathered Clock bigz die
and Spellbinders Window Two die. Isn't it quite adorable that the window
can be opened? Love the detailed design like that. Added some tiny
flowers on the "window sill" :)
Hung
a tavern sign using Tim Holtz's Hanging Sign die. This is a steel die
which works well with thick materials so I cut it with a grunge board so
that it would be sturdy and wrapped it with cardstock and french script
stamp and flowers and the words "House of Plenty.
Using freehand, I drew the outline of a tree top with cardboard and then trace it again on cardstock to form the outline.
Then I started sticking leaves all over and bunches of flowers.
I
used a really lovely paper from Prima Marketing called Orchard. I fussy
cut the tree out from the paper to adhere to the tree I created. For
the trunk, I used my Tim Holtz woodgrain embossing folder.
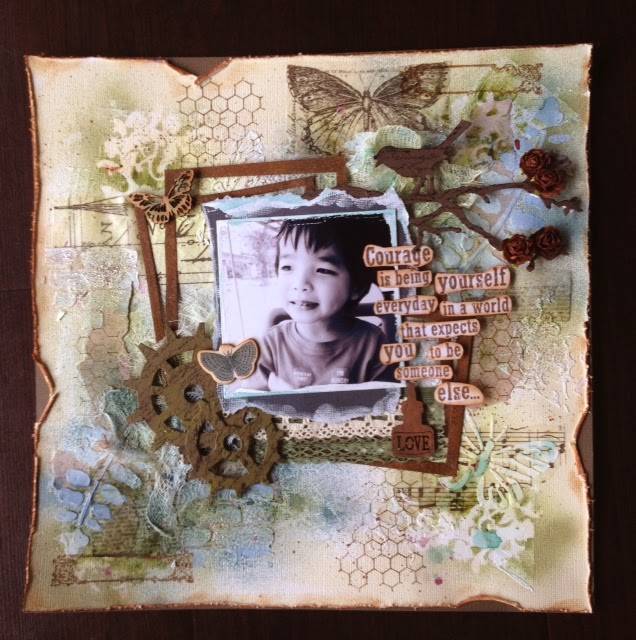
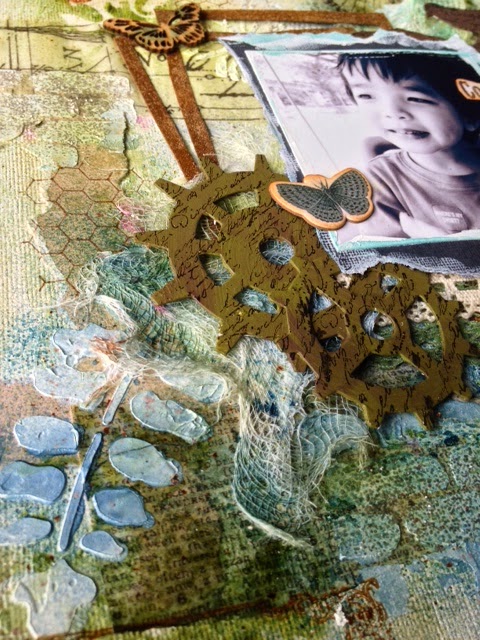
Next, I
used my Spellbinders Beaded Squares die and stamped this caption and
added some flowers and leaves. The butterfly is also a Spellbinders Les
Papillions die.
And there we have it! A finished house where my friends and family will always find warmth and friendship whenever they enter.
Thanks for dropping by! Hope you have fun creating too.