
Hello everyone! Hope all of you are having a good week so far.
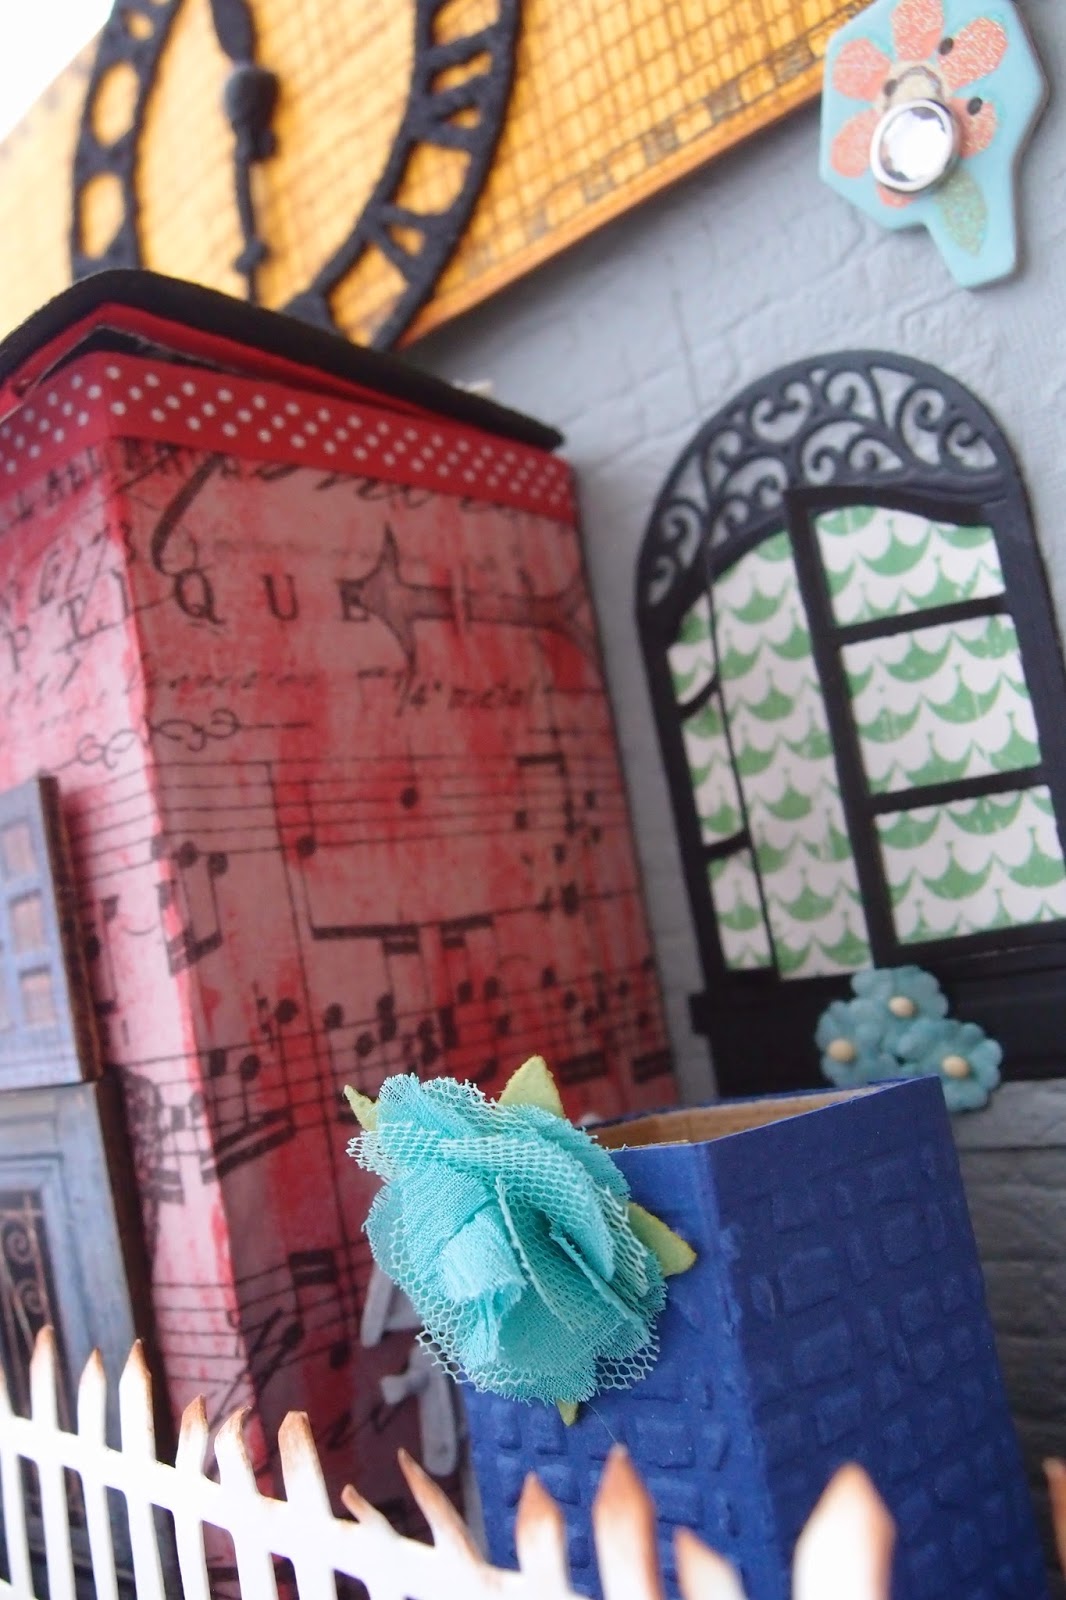
If you had read my previous post, you would have seen this house that I constructed as a vehicle to store my disposables. On this post, I'm going to run through a little bit more of how I did this out of an empty box and some cardboards. Here's the photos of the front and back view of the house again.


I'm going to show you a few photos of how it holds my disposable plates, cups, serviettes, cutlery and even stirrers.
 |
| Front of house/plates |
 |
| Patio at front of house/cutlery |
 |
| Back of house/serviettes and cups |
 | |
| For stirrers or small dessert spoons/forks |
It all started when I bought the "On the Fence" die from Tim Holtz and was looking for ways to use it. And then I had this box that stored a toy from my son of which I was about to chuck away when I saw the potential of using the fence to line it around the box and the box to hold my house. And an idea was formed.
I wrapped the box around with cardstock.
Then cut strips of the fence to ensure it can go round the box.
I measured the width of the house using cardboards. That became my wall. I used my Tim Holtz "bricks" embossing folder to emboss the imprints of bricks all over a grey cardstock and then cut to measure that around the wall of the house and adhere to the cardboard.
Then I cut the shape of the roof using cardboard and wrapped with cardstock too.


The red
patio box was used to store my son's satchels of fruit puree. I emptied
the contents and also wrapped it with red cardstock paper. I used a
glittered foam and cut the edge with Tim Holtz's On the Edge Ornate die


Embellished in whatever way you like.
I used Tim Holtz's tissue wrap Melange to wrap around the red box. You can used Ranger's Glue and Seal to adhere the tissue wrap. Punched a hole and hanged some charms.


Hung
a tavern sign using Tim Holtz's Hanging Sign die. This is a steel die
which works well with thick materials so I cut it with a grunge board so
that it would be sturdy and wrapped it with cardstock and french script
stamp and flowers and the words "House of Plenty.


Then I started sticking leaves all over and bunches of flowers.

I used a really lovely paper from Prima Marketing called Orchard. I fussy cut the tree out from the paper to adhere to the tree I created. For the trunk, I used my Tim Holtz woodgrain embossing folder.

Next, I
used my Spellbinders Beaded Squares die and stamped this caption and
added some flowers and leaves. The butterfly is also a Spellbinders Les
Papillions die.


And there we have it! A finished house where my friends and family will always find warmth and friendship whenever they enter.


Thanks for dropping by! Hope you have fun creating too.
No comments:
Post a Comment