Wednesday 21 May 2014

Mixed media art layout

I think it's always lovely seeing how someone starts off with a clean slate of paper, splashes random papers, doilies, paints, spray mists, modeling paste, metal embellishments (do you get the picture yet?) and magically turn it into a wonderful piece of art! Well, perhaps for these professional artists, it was more of an organized randomness (??!!). And I find it fascinating to watch the whole process, of which I am ever so thankful for, in Youtube. So many times as I watch the process, I'm going like, hey, are you sure you wanna spray it like that? Or, I'd be thinking, what's the point of putting that paper there? And then finally you see how it all comes together and you go, Aaahhh....

Anyway, I attempted my first mixed media layout and I have only one word to describe it, LIBERATING! :)  It was an exciting feeling just letting your fears and inhibitions go and just experimenting with the mediums you have and not worry about doing it properly or measuring, for that matter. If you are a highly compliant person like me and feel that you have to do everything by the rules, I'd highly recommend that you try it too! This is how mine looks like ...

I still have lots of practice to go but suffice to say, this will not be my last attempt at randomness. Here's some closeups of the layout..


Besides some of the medium that I've listed above, I've also used cheesecloth (ya, I know! Isn't that fun??), gesso, stamping, tissue paper (not the type that you use to clean your nose, it's from Tim Holtz, I think it's called tissue wrap), die cuts, wooden embellishment and alcohol ink. I think that's all! :)

I hope you have your own exciting time scrapping too!

Thanks for looking  :)

Friday 2 May 2014

House of Hospitality (Tutorial)


Hello everyone! Hope all of you are having a good week so far.

If you had read my previous post, you would have seen this house that I constructed as a vehicle to store my disposables. On this post, I'm going to run through a little bit more of how I did this out of an empty box and some cardboards. Here's the photos of the front and back view of the house again. 


I'm going to show you a few photos of how it holds my disposable plates, cups, serviettes, cutlery and even stirrers.

Front of house/plates

Patio at front of house/cutlery

Back of house/serviettes and cups

 
For stirrers or small dessert spoons/forks
And since plates and cups and even serviettes can come in different sizes, you would need to decide which is the size you would probably be using most of the time and make sure your house, patio and tree is long/wide enough to hold them. 

It all started when I bought the "On the Fence" die from Tim Holtz and was looking for ways to use it. And then I had this box that stored a toy from my son of which I was about to chuck away when I saw the potential of using the fence to line it around the box and the box to hold my house. And an idea was formed.

I wrapped the box around with cardstock.
Then cut strips of the fence to ensure it can go round the box.
I measured the width of the house using cardboards. That became my wall.  I used my Tim Holtz "bricks" embossing folder to emboss the imprints of bricks all over a grey cardstock and then cut to measure that around the wall of the house and adhere to the cardboard.
Then I cut the shape of the roof using cardboard and wrapped with cardstock too.


The red patio box was used to store my son's satchels of fruit puree. I emptied the contents and also wrapped it with red cardstock paper. I used a glittered foam and cut the edge with Tim Holtz's On the Edge Ornate die


Embellished in whatever way you like.
I used Tim Holtz's tissue wrap Melange to wrap around the red box. You can used Ranger's Glue and Seal to adhere the tissue wrap. Punched a hole and hanged some charms.


Time to dress up the house! I placed a Tim Holtz's Weathered Clock bigz die and Spellbinders Window Two die. Isn't it quite adorable that the window can be opened? Love the detailed design like that. Added some tiny flowers on the "window sill" :)


Hung a tavern sign using Tim Holtz's Hanging Sign die. This is a steel die which works well with thick materials so I cut it with a grunge board so that it would be sturdy and wrapped it with cardstock and french script stamp and flowers and the words "House of Plenty.


Using freehand, I drew the outline of a tree top with cardboard and then trace it again on cardstock to form the outline.


 Then I started sticking leaves all over and bunches of flowers.


I used a really lovely paper from Prima Marketing called Orchard. I fussy cut the tree out from the paper to adhere to the tree I created. For the trunk, I used my Tim Holtz woodgrain embossing folder.


Next, I used my Spellbinders Beaded Squares die and stamped this caption and added some flowers and leaves. The butterfly is also a Spellbinders Les Papillions die.


And there we have it! A finished house where my friends and family will always find warmth and friendship whenever they enter.


Thanks for dropping by! Hope you have fun creating too.


Tuesday 29 April 2014

House of Hospitality

I know, the title of this post is not the most creative but it's the best I can come up with for this house project that I did  :)


 It all started when I bought this "On the Fence" die from Tim Holtz and there was this box that I wanted to throw away from one of my son's toys. An idea formed to lay the fence around the box which I would then need to "build" a house for the fence to surround itself in and one thought led to another and the idea of a house was conceived  :)


But I didn't like the idea of a house in an ornamental sense, that is, its only purpose was to stand there and look like a house. That, to me, was a waste of space so I decided to make it a working house and created a "House of Hospitality". Simply put, it was a receptacle, if you will, where I could store my disposable plates, cups, serviettes, cutlery and even stirrers! Cool idea??

There is the front of the house with a um.. patio and a backyard. The orange roof can be opened to reveal disposable dinner and dessert plates. The red patio with the blue door is used to store forks and spoons. Beside the patio is a small rectangular blue box for stirrers. 


The tree is used to store cups and behind the red beaded square is where I keep the napkins.


It took me some time since it was built from just an empty box and lots of cardboards and it was my first time constructing a house but it was a lot of fun and I love the end result!

I wish I can find a lazy Suzie to attach it on so that I spin it around to retrieve things but it has been most convenient to have this around whenever I have guests in the house.

Some of you may want to know how I constructed this house, so I will be writing another blog for the details...stay tuned! :)

Sunday 27 April 2014

DCWV The Primrose Stack collection envelope album

So I think I'm in an album phase now..  mini scrapbooking albums, that is.

I like the size of the mini albums, most of them not bigger than 9' x 9". I like the permutations that you can have fun with, especially if you are using envelopes, smaller pages within the pages, double folded, triple folded, mini envelopes etc. I like also that I can have more photos in one album instead of the usual 2 or 3 max in a layout. Fantastic that I can organise my important events into albums now, birthdays, holidays and the list goes on..

I've done a couple so far but I'm having difficulty showing these albums on videos. Uh, ok, actually, more like I don't know how. Still photos don't seem to capture the essence of these albums as well. So recently, I did another album for a good friend's birthday and it was my first attempt at using envelopes for the pages within the album... I tried to take a video of it albeit clumsily but hopefully, you get a clearer picture of what the album looks like inside.. in the video, I could see the mess on my table and even my knees! lol!

I watched a Youtube video on how to use iMovie and that helped to get the basics going..

Most of the papers in the album are taken from the Primrose Stack collection from DCWV but I also had a whole lot of eclectic collection and personal stash from other brands


So if you would like to take a look at my first envelope album on my first video, I would be so honoured! Here are some photos of the covers..

Front cover
Back cover

Here's the link to the video on Youtube..

 http://www.youtube.com/watch?v=X8EAIP5ZP5U

Would love to hear your comments and feedback. Thanks!

Happy scrapping!

Monday 27 January 2014

Printer's tray

Ok, I have many photos taken of my son. Just the year 2013 alone, I have almost 2000 photos and videos of him! I guess that's what happens when you have an only child and you are a stay-at-home mom. Some of those photos are my personal favourites and I would love to showcase them but I figured that it would take lots and lots of layouts to highlight them.

Then I remembered I had this 12 frames wooden display from 7 Gypsies that would at least allow me to show a few of his photos at one go. Its called a printer's tray. Each frame within measures 7cm by 9.5cm. The frame comes in solid black or white wood with a metal hanger that you could use to hang up.
So I decided to choose a few of my favourite photos and create something out of them..

This is what I did over a few afternoons of hard work! :)

For those of you interested in seeing the close-ups, please scroll on for the details..
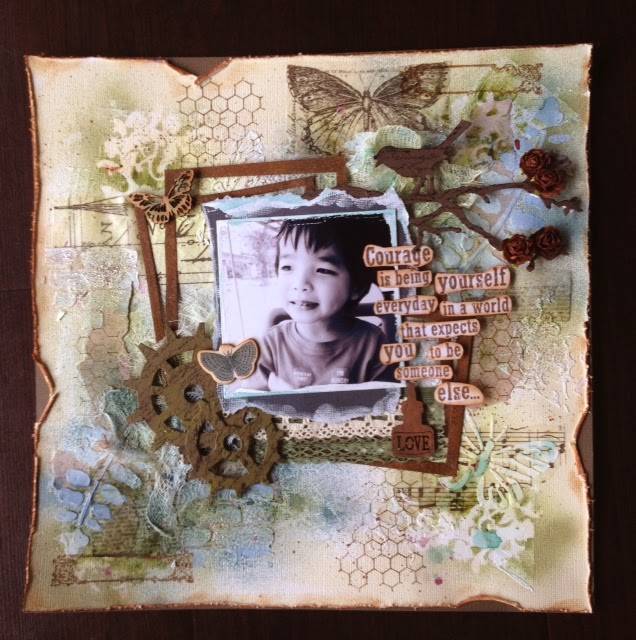
This is one of my favourite shots of my son. I feel like I'm getting a glimpse of the man he will become. Such a grown up look! The phrase is from a rub-on I bought a while back. I think its from Kaiser Craft. And then I used a metal adornment from Tim Holtz.


I love this saying and really praying that he will come to know this.


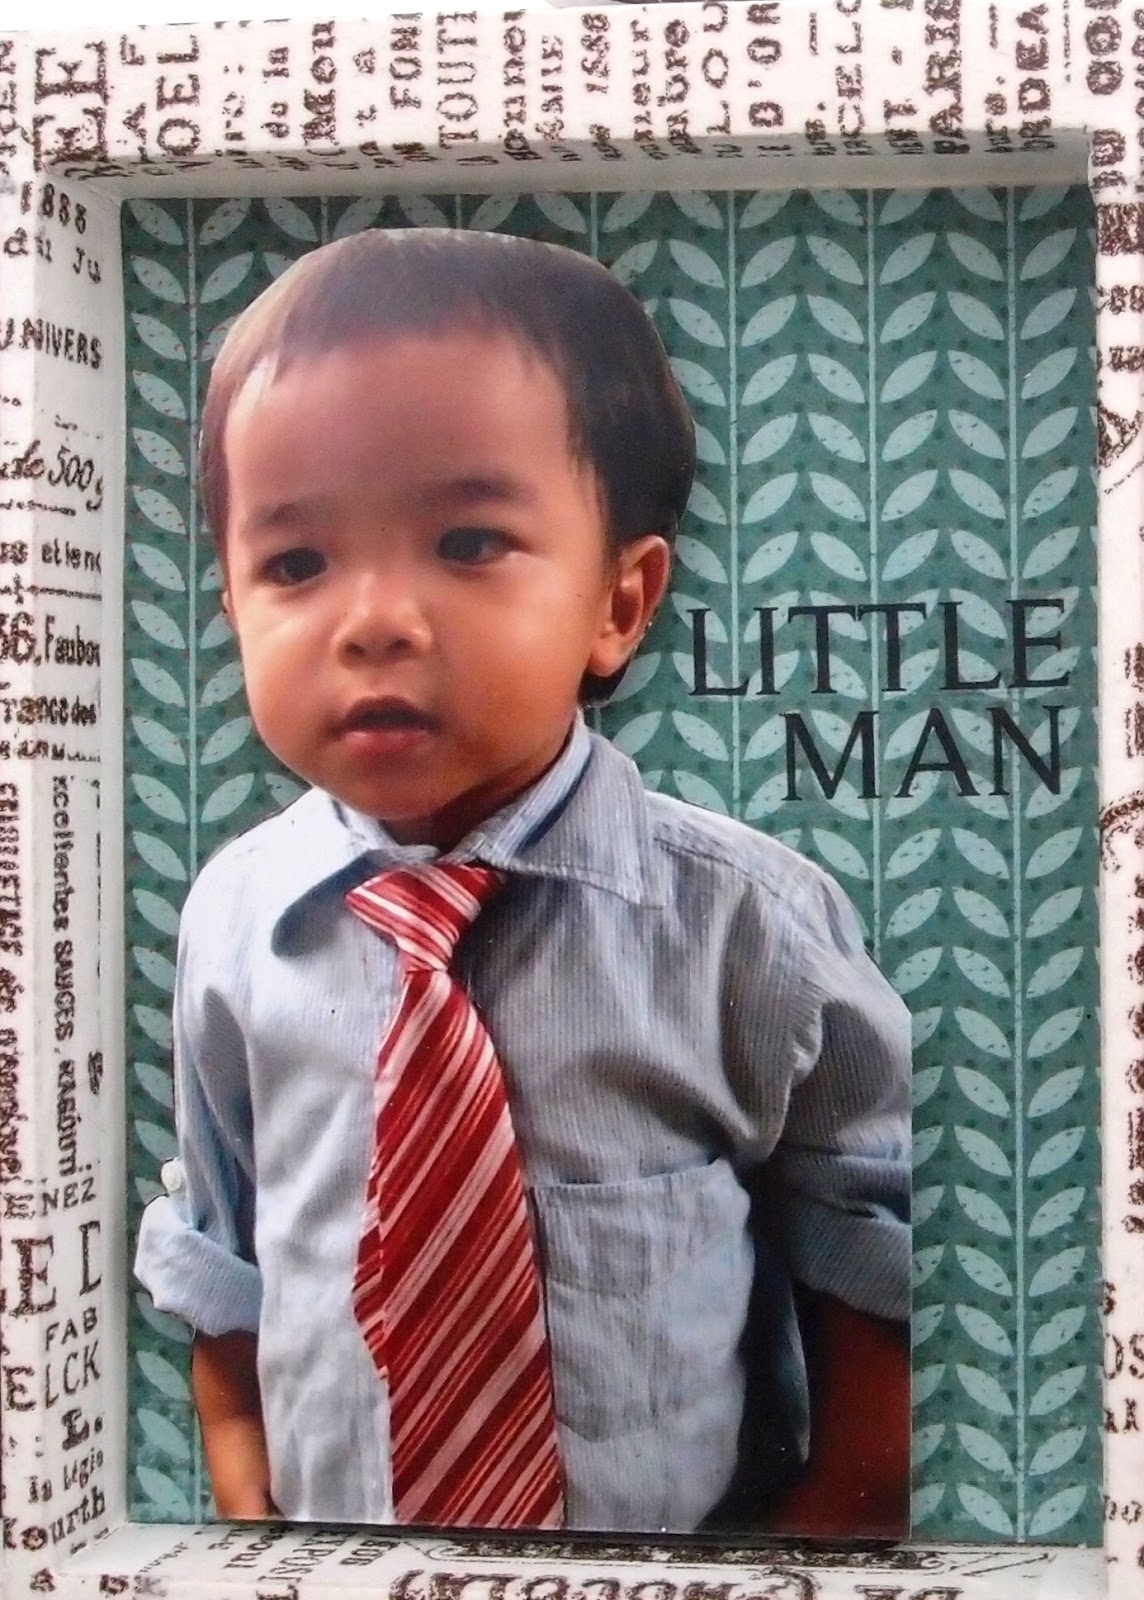
The first time he wore a cute little tie to a wedding dinner and the caption "Little Man" was very apt.


The quote on this frame was something I like too, "Every possibility begins with the courage to imagine". It's a stamp from Tim Holtz. It's nice that I can choose some of my favourite quotes that encapsulates what the picture means to me.


Next frame is a photo of him in a deep slumber and looking simply angelic! I chose a sticker label from 7 Gypsies that says, "Live as if bedtime will never come, then dream of mischief". This is appropriate considering that I just spent the last 1.5 hours trying to get him to take his afternoon nap!!


Scallop and classic hearts; die cuts from Spellbinders. Added a little fun with the sticker that says "no girls allowed".


Next up, another quote. I used Photoshop to create this phrase,"Do not be afraid, spread your wings and fly" and printed it on photo paper. then I added another metal bird from Tim Holtz.. He has these really nice metal embellishments.. In goes 2 more sticker labels from 7 Gypsies.. really fun stickers with cute sayings!
We took this picture of him drooling gleefully. He looked very satisfied doing that. And I love how this caption said what it did! haha.. A sign of things to come, probably a phrase I may be using a lot of in future!
I wanted to do something a little different from just having 12 frames of photos and phrases so I decided to do a little juggling at the corner to break the shape of the frame. There was this quote I saw at Pinterest which I really liked and wanted to incorporate into this layout.. It goes like this, "So, there is this boy. He kinda stole my heart. He calls me Mommy." Now, isn't that absolutely adorable??  I decided to use my alphas from Prima Marketing for this phrase also because they were small enough. So I juxtapose the quote with other stickers and journal cards. 
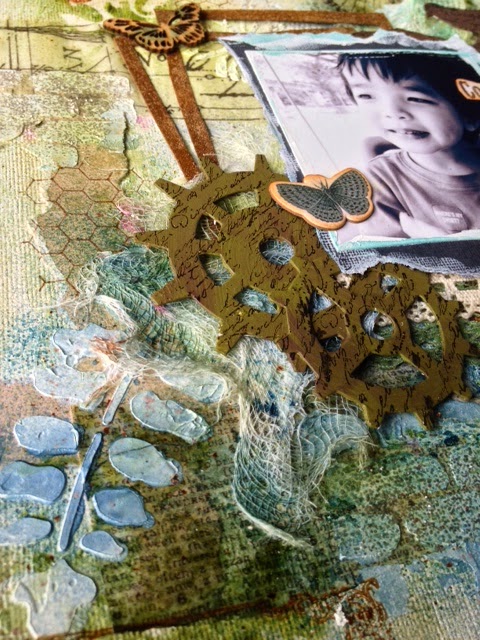
Used bumble bee rub-ons. Used a vintage car die-cut and used crackle on top of it to give it a, well, crackle effect.. here's the close-up..
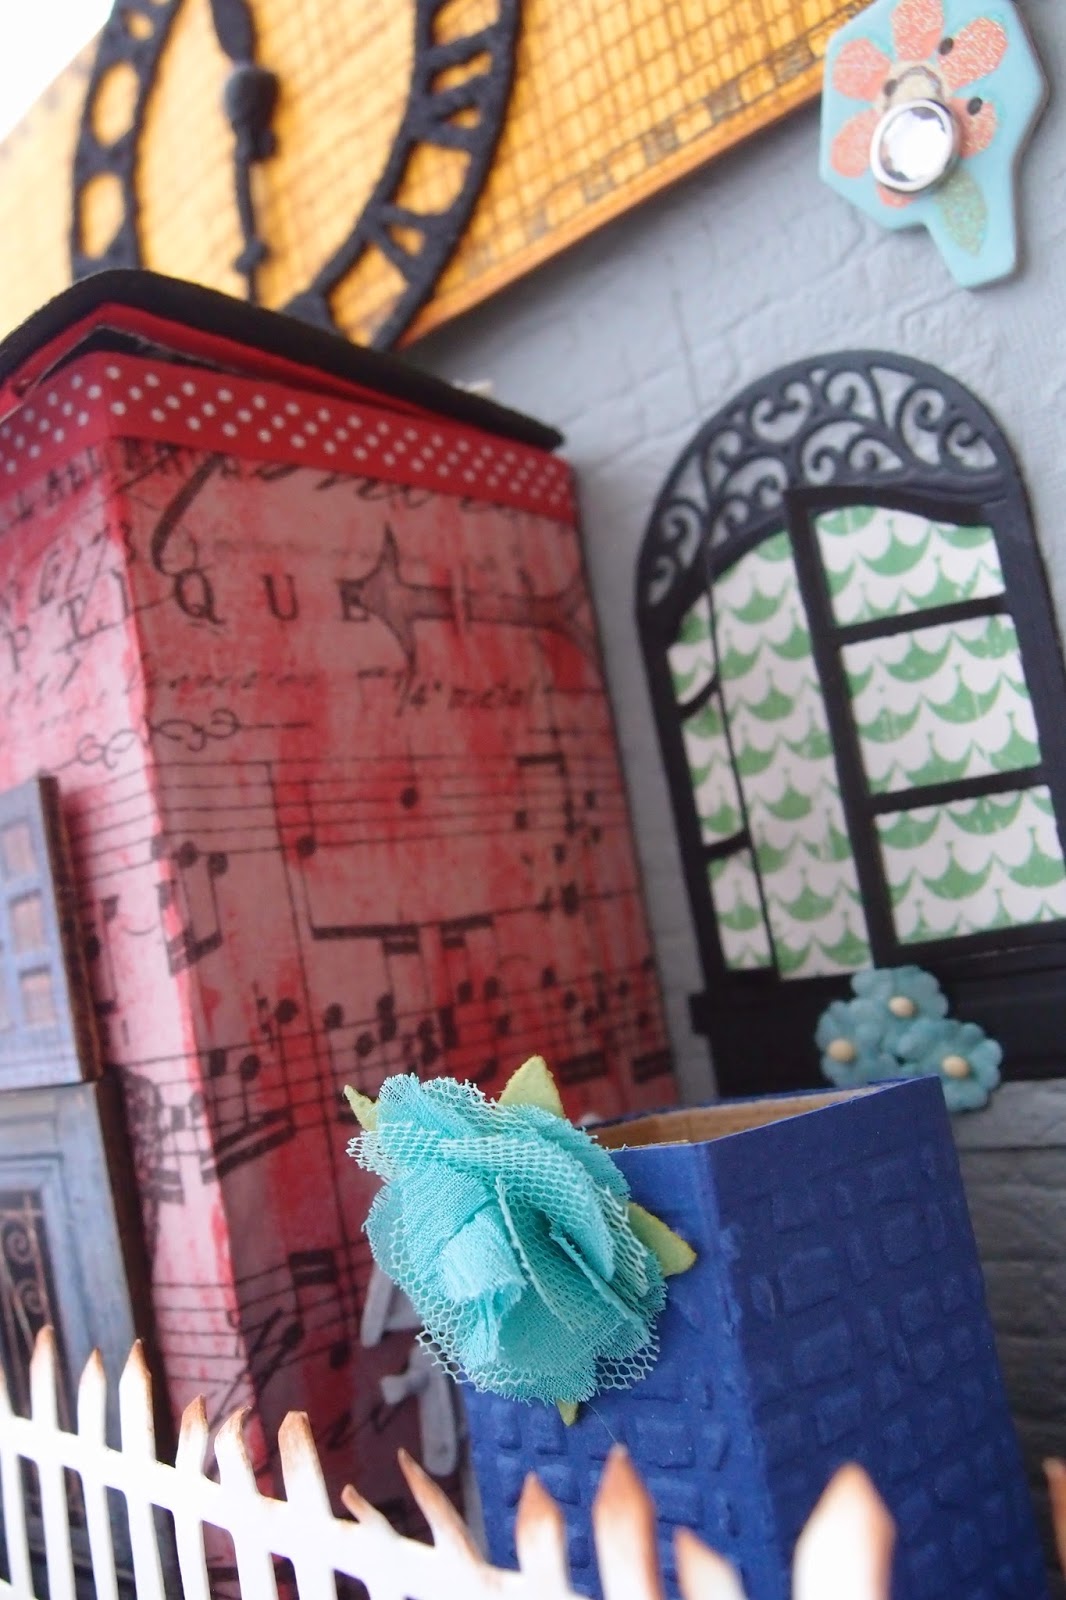
The above is one of my favourite frames. I love the plastic vials from Tim Holtz where you can unscrew the little cockscrews at the top of the vials and put whatever stuff you wanted in there!  So I used 2 different shaped bottles and put silver embossing powder in the taller thin one. For the shorter vial, I stamped some writings on a piece of white paper, distressed the edges, rolled it up like a scroll and stuck it in. And I put the sticker, Buried Treasure beside the vials. I thought that was fun!


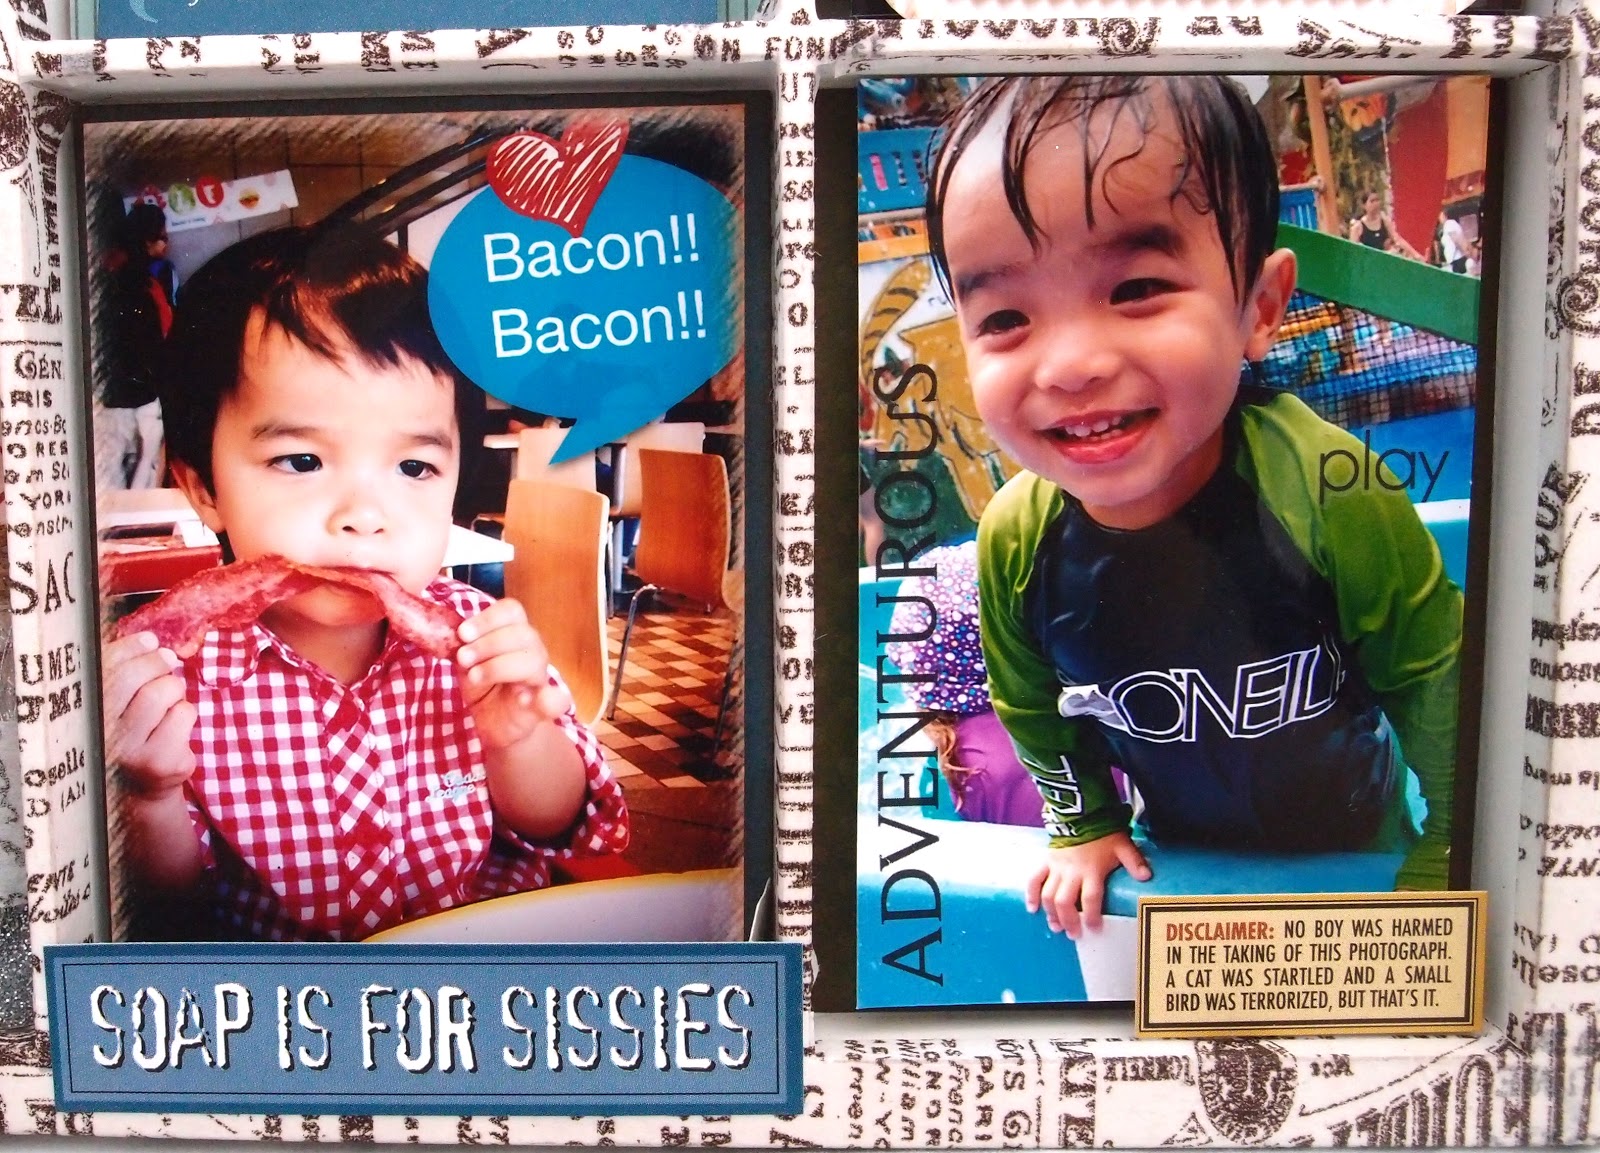
These are the last 2 frames. Another 2 of my favourite shots of him, eating bacon for the first time and swimming on his 2nd birthday.


Another look at the overall completed layout. I also covered the frames as I didn't want it in the original white. I felt it was too "clean" for a boy layout! So I covered them all with tissue tape from Tim Holtz! Love the effect!

Last but not least, a sticker that says it all....
In my humble opinion, the printer's tray would make an absolutely adorable Valentine or a birthday gift and Scrappytale will be able to customise something similar for you and your loved ones. Drop me an email at jenniemaxine@yahoo.com or visit me at my Facebook page under Scrappytale if you wish to find out more.. 

I hope you enjoy seeing my humble little creation. Feel free to check in with me if you have any queries.. Thanks for looking..